Setting Up The Frames
With the grider done it was time to move onto the frames.
First step was 46 inchish long pieces to back the stringers, along with some longer pieces for the chines. Being lazy I went with four cuts at a time to speed things up. Worked a charm.

The tops of the frames are a bit more complicated. I decided to laminate the #2 beam under the fordeck from a combination of Cedar (light) and Spruce (strong). Partly this was because I had the offcuts available and partly because I wanted to try some lamination.
For the cockpit deck supports I just steamed Cedar.
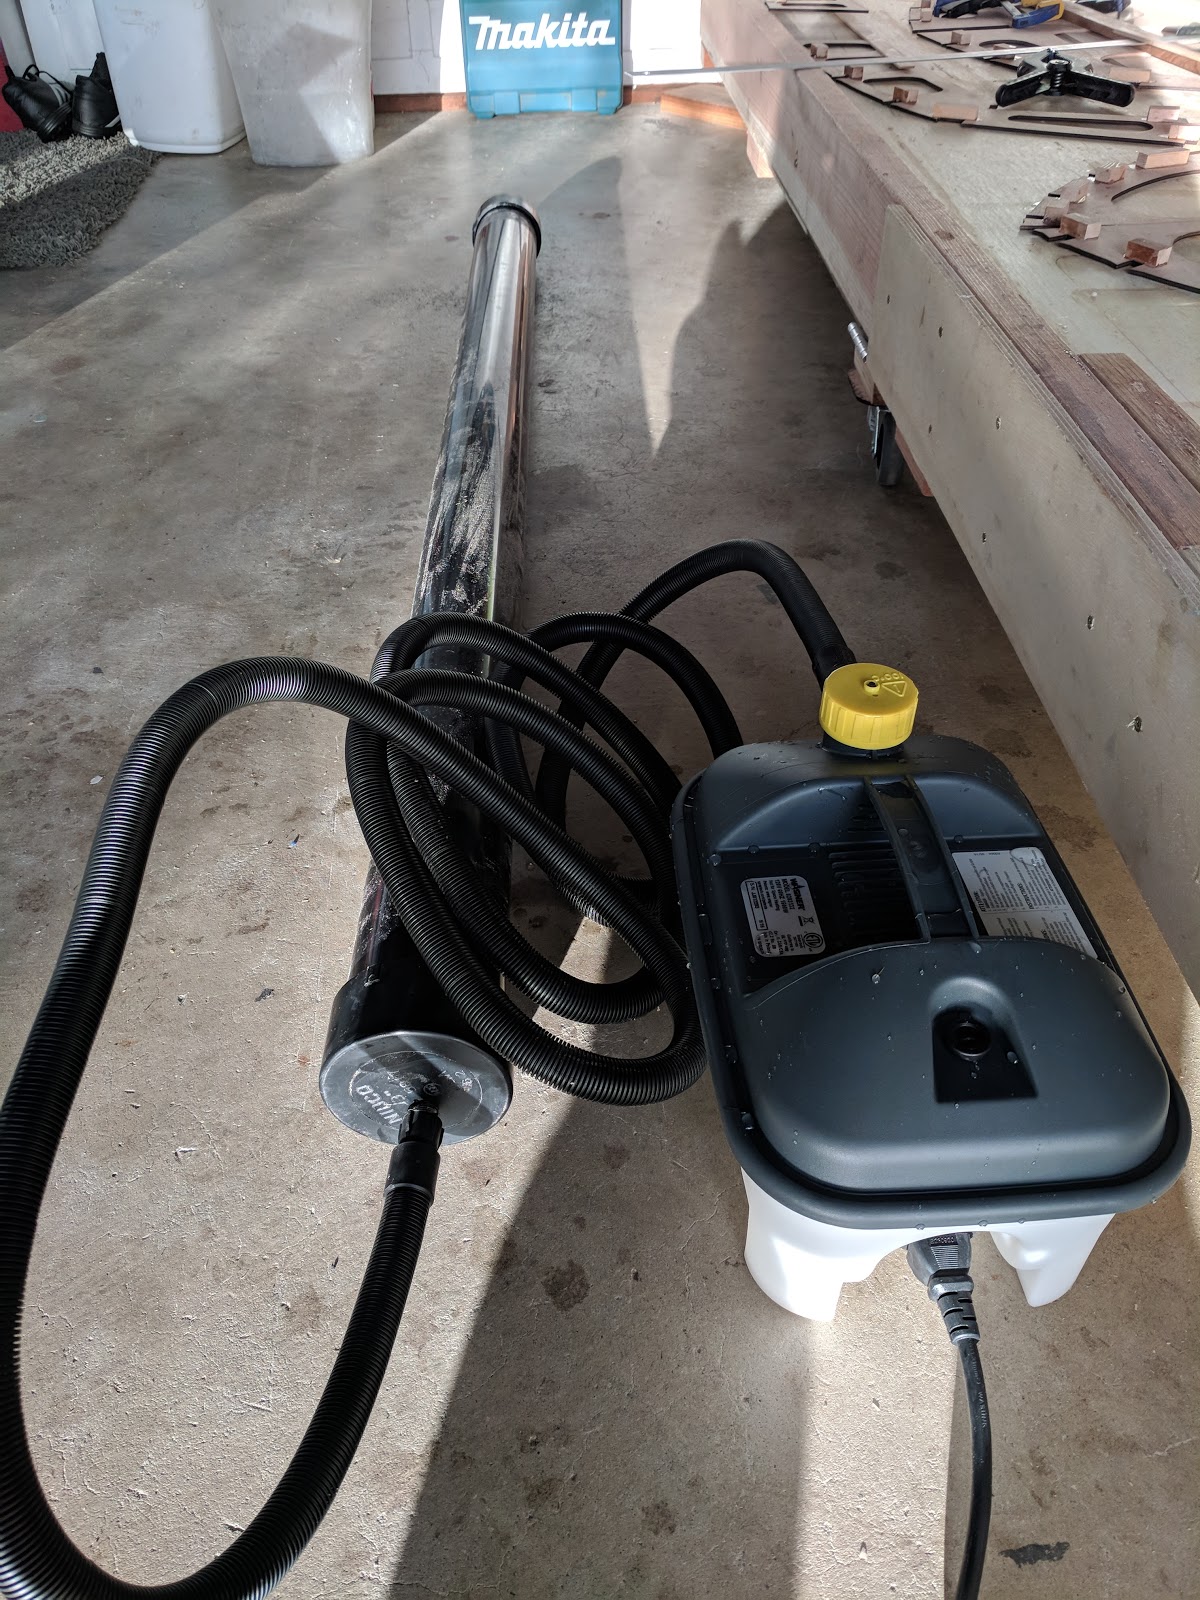
To get the curve I attached blocks to a sheet of ply, built a steamer from some 3" ABS pipe (5' for this part but with another 8' I can attach later for the stringers and chines) and a wall paper steamer.
Once steamed I clamped the wood to the template and left it for a while.
My initial results steaming weren't that great so I insulated the setup, added a thermometer and added some cross beams to lift the piece off the sides and into the steam. In the end it still took steaming the larger cedar pieces for an hour and a half to get them bendy enough to take the curve. For the chines I'll probably steam for even longer as this was borderline. Or do this.


That's me almost up to date with progress. I'm actually putting the jig together that will mount the whole structure upside down. We had the ply laser cut on 11th of January and if I can be starting on the stringers by February 11th I will be VERY pleased.
I'm going to try and get onto a more regular blog as I enjoy seeing the timeline for Dave's progress. The google photos album should provide that information as I try to take one or two photos everytime I feel like I've achieved something.
First step was 46 inchish long pieces to back the stringers, along with some longer pieces for the chines. Being lazy I went with four cuts at a time to speed things up. Worked a charm.

The tops of the frames are a bit more complicated. I decided to laminate the #2 beam under the fordeck from a combination of Cedar (light) and Spruce (strong). Partly this was because I had the offcuts available and partly because I wanted to try some lamination.
For the cockpit deck supports I just steamed Cedar.
To get the curve I attached blocks to a sheet of ply, built a steamer from some 3" ABS pipe (5' for this part but with another 8' I can attach later for the stringers and chines) and a wall paper steamer.
Once steamed I clamped the wood to the template and left it for a while.
My initial results steaming weren't that great so I insulated the setup, added a thermometer and added some cross beams to lift the piece off the sides and into the steam. In the end it still took steaming the larger cedar pieces for an hour and a half to get them bendy enough to take the curve. For the chines I'll probably steam for even longer as this was borderline. Or do this.


The transom I cut from the remaining piece of Spruce. After cutting I finally realized my jigsaw has a bevel cut feature and wasn't set fully upright. I've been assuming that it was the wood grain pulling it off vertical. As it was I cut wide and had a fair amount of planing and sanding to get it to shape.


With all that done it was time to start attaching the top pieces to the frames. This was pretty straightforward, all ended up within 1/16" of the ply and 20 minutes with a spokeshave finished the job.


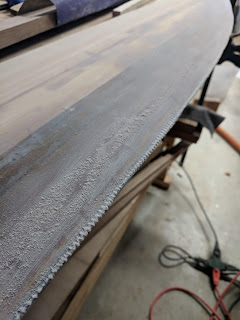
A bit of sanding and a lot of sealing later the frames were ready for attachment.
The sealing was pretty horrible. I started on a bench, but found I was stooping and my back got sore. So I moved to hanging the pieces up at a nice working level (higher than shown below) and this was much better. My initial hanging pattern wasn't great, I hung off a 6x2 from my spare lumber. If doing again I'd hang this flat and put the frame support strings across the 6" wide part, at a diagonal. The frame tend to hang perpendicular to the strings so this would space them nicely.
Live and learn.


I'm going to try and get onto a more regular blog as I enjoy seeing the timeline for Dave's progress. The google photos album should provide that information as I try to take one or two photos everytime I feel like I've achieved something.


Comments
Post a Comment