Splicing overview, and D-Splicer FTW
I've been splicing lines for years now from a first rough double braided eye slice years ago (this video was my tutorial, dude is awesome!). Mainly these days I find myself working with stripped lines for lightness and just accept that I need to resplice every so often. The difference is the splice used - a brummel lock splice - takes less than ten minutes to complete - in the video linked it takes three and a half minutes but then you need to whip them to stop the tail working loose.
Splicing is something I often do watching TV in the evening.
Anyway, I digress!
For Farrout I've been doing three types of splice:
- The brummel lock splice for line segments in the vang, downhaul, outhaul and also the mainsheet end.
- Locked brummel loops (see this hammock video) to attach blocks
- Continuous Control line splices like in this video, so that my lines don't have ends.
Over the years I've moved from my original aluminum fids to this stainless set by Ronstan that I find slips easier than my original aluminum set. I've also made a variety of wire devices that help when I just can't get a fid to pass through a line.
This week, with the smaller lines on Farrout, I found myself spending a bunch of time rigging wire devices to make the continuous lines and finally cracked and bought a D-Splicer kit. This morning I started playing with it and boy I could have saved some time over the years!
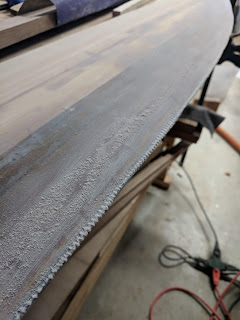
Below is a picture of my first three splices. Each one pretty simple - utility eyes in a 5/32 (4mm) line and 1/4" line and the smallest locked loop I've ever attempted out of a spare piece of core. The loop isn't the neatest end result but its not terrible and way smaller than I could have made with a fid!


Comments
Post a Comment